Total Home Pet MAXLIFE - Has Low/ No Suction
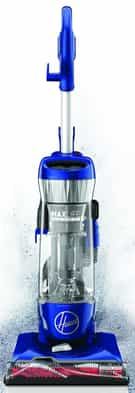
This article contains information on how to fix suction issues in your Total Home Pet MAXLIFE.
TIP: If you are experiencing lower suction, try adjusting the nozzle height to the proper setting for your floor type.

Follow these steps if you're experiencing low/ no suction
 Let's start by making sure your dirt cup is properly seated in the unit and there are no gaps.
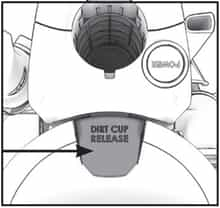
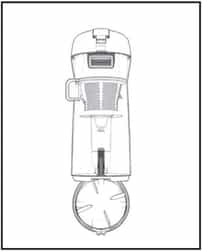
 - Empty your dirt cup by pressing the release button on the lid and rocking the cup out, once removed open the trap door by pressing the release mechanism.
- For optimal suction, remove the dirt cup lid and clean the separator filter showed by the arrow bellow →


- Once you have removed and emptied the dirt cup, you should remove the rinseable filter located underneath the tank in the unit. You can remove the filter by pulling it up and out.
- If you are currently cleaning, tap your filter until clean then replace it in the unit, otherwise rinse the filter under water until it's clear and squeeze it to remove excess water. Allow 24 hours to dry then replace it in the unit.


- After cleaning the rinseable filter, turn the unit around and release the latch to remove the exhaust filter located in the back of your unit.
- Tap the filter until clean or wipe down any remaining dust with a dry cloth. Do not rinse!!


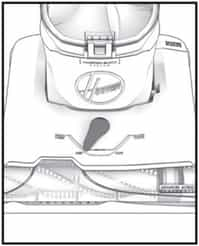
- Lastly, check your hose airpath and extension tools for any clogs. Make sure to check all the following connection points where clogs could happen in your unit. You should also check your hose for any clogs


CAUTION: Do not replace any of the filters if they are damp.
TIP: You can drop a coin through the hose to ensure there are no clogs.
NOTE: If you have tried to troubleshoot and need to fill a warranty claim, please visit our Warranty Information page for more information on how to do so.
