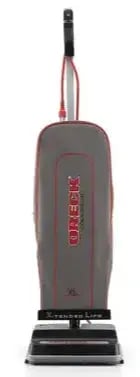
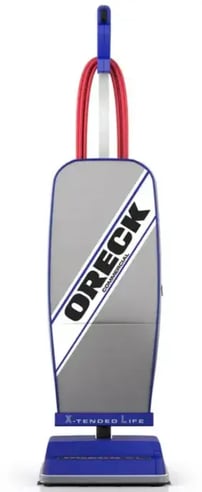
Commercial, XL, LEED Upright - Low/ No Suction
This article contains all the steps necessary to fix suction issues with your commercial vacuums


NOTE: Check the disposable bag at least once a month, depending on use. Never let the bag fill past the max line to ensure optimal performance.
TIP: When inserting a new disposable bag, first puff it out and open the bag.
Follow these steps if you're experiencing low/ no suction
- One of the very first steps is to make sure your unit is properly assembled. Remove the 2 screws from the connector assembly and then remove the plastic insert.

- Once the plastic strip is removed, slide the upper handle. Hold the handle brace and align the screw holes. Once the handle is aligned insert the screws to properly secure your handle.


- Now that your handle is installed, check that your filter bag is properly installed, clean and not filled. Open the outer bag's zipper, unhook the bag from the connector assembly and dispose of it.
- To replace the bag, Hook bottom of bag collar opening under lip “B” of connector assembly. Pull up on bag collar and snap over lip “A” of connector.
- Press on edges of bag collar to ensure bag is completely installed. Check to make sure bag collar is behind lips “A” and “B”. If it is not, dust will leak into outer bag.

- Once your bag has been replaced for a new one, you should inspect your unit for any clogs or blockages. Lay your unit flat so you can access the bottom of it. Check for blockage at the mouth of the nozzle opening. If there is blockage, remove it with long-nose pliers, a screwdriver or coat hanger. See Ilustation A
- If the blockage is not accessible from the outside, remove the screws in the base plate to access the inside of the bush roll housing. See illustration B.

- Once the nozzle is cleared check your lower tube connection point. Unhook retainer spring, releasing bottom of bag. Twist lower collar counterclockwise to slide up. Pull tube out of base and remove any debris with a hanger or a non-sharp object.

- Before reassemble check O-ring on tube and replace if damaged. Vacuum will not operate properly without the tube O-ring.
- Slide O-ring to approximately 2" from base of tube. Replace tube by first lining up the base of the tube with inner tab inside fan housing. Then reinsert tube and push down until the tube is seated. Make sure O-ring is in place against fan housing opening (D). Replace and tighten collar until collar locking tabs are locked in place (E)


CAUTION: All disposable inner bags are not the same. Using bags other than genuine Oreck
HEPA or non-HEPA disposable inner a bag will affect the cleaning ability of your vacuum and could cause damage to it.
NOTE: Your ORECK XL vacuum cleaner has a special FRESH AIR tab pocket. This pocket is located inside the outer bag in the area where the disposable paper bag attaches to the connector assembly. Insert tablet in pocket.
This will not alter the performance of your unit, but it will make cleaning more pleasing.