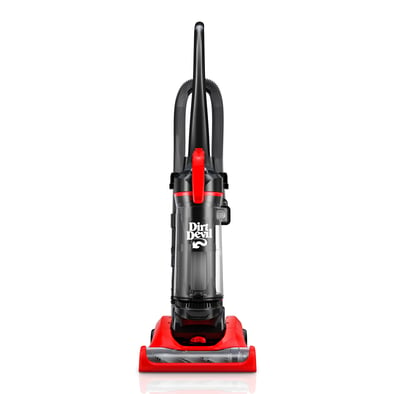
Multi-Surface - Low/ No suction
This article contains all the steps necessary to fix suction issues with your Vacuum

TIP: If you are experiencing lower suction or if your vacuum is hard to push, try adjusting the nozzle height to the proper setting for your floor type.
Follow these steps if you're experiencing low/ no suction:
- Let's start by making sure your dirt cup is properly seated in the unit and there are no gaps.
- Empty your dirt cup by pressing the release button on the lid and rocking the cup out of the unit, then unlock the latch at the bottom to empty the tank.


- After emptying the dirt cup, remove the lid and the cyclonic filter (black filter basket inside the tank) and clean out any debris and dust. Once it's clean replace the filter by lining up the notches with the dirt cup, then replace the lid and lock it properly.
- Once you have removed and emptied the dirt cup, you should remove the rinsable filter located underneath the tank's lid. You can remove the filter by twisting open the lid and unlocking the filter.
- If you are currently cleaning, tap your filter until clean then replace it in the unit, otherwise rinse the filter under water until it's clear and squeeze it to remove excess water. Allow 24 hours to dry then replace it in the unit.


- After cleaning the rinsable filter, remove the two screws on the exhaust filter casing located under the dirt cup.
- Remove the exhaust filter and wash it clean, and allow it to dry for 24 hours before replacing it in the unit.


- Lastly, check your hose airpath for any clogs. Make sure your vacuum is upright and press the hose release button, inspect your hose and clear out any clogs, then replace it back in the unit.
CAUTION: Do not replace any of the filters if they are damp.